Choosing the right residential proxy provider is only half the battle; knowing how to navigate the procurement process efficiently is what gets your project off the ground.
This guide provides a step-by-step walkthrough on how to place an order for residential proxies at Infatica.io, from initial registration to generating your first proxy list.
Step 1: Getting Started
Before you can purchase any services, you need to create an account or log into your existing account.
- Visit the Hydraproxy client dashboard
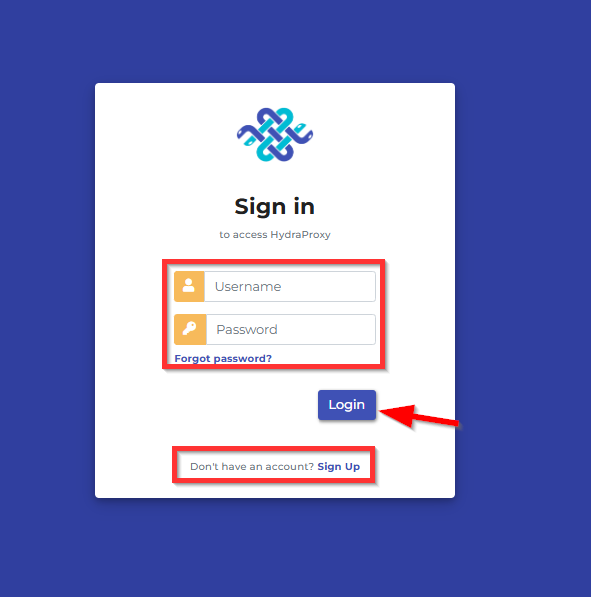
- Insert your Username and Password then click the LogIn button if you already have an account or Create Account if not.
- If you are a new customer:
- Fill in your details (name, email, and password)
- Once registered, you will need to verify the account by email then login using your newly created Username and Password
- Next step is to edit your biling details from the Settings button under “Your Account” section

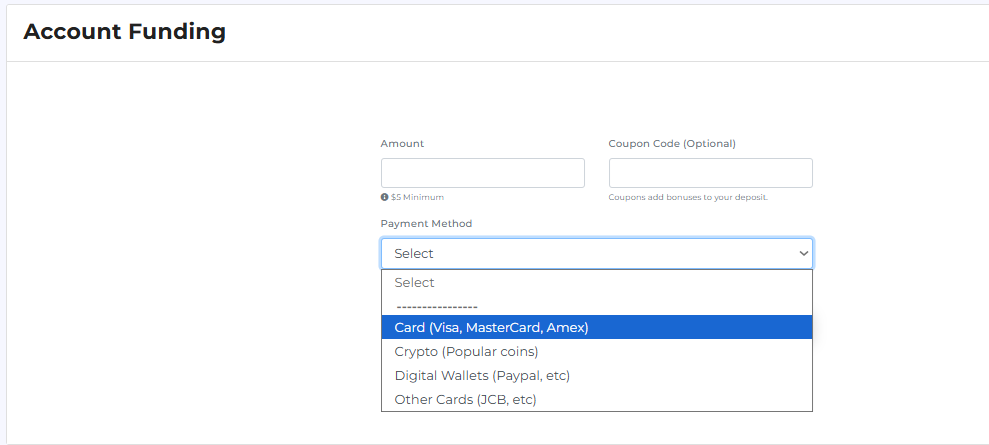
- Before placing any order you will need to add funds to your account. You can do this by clicking the ADD Funds button (will only work if you edited your billing details before – check above). We accept these payment methods:
- Credit/Debit Cards
- Crypto (BTC, Bitcoin (Lightning Network), ETH, LTC, MATIC, Solana, USDT ERC20 & TRC20 (Tether USD on Ethereum and Tron blockchains), USDC ERC20 (USD Coin on Ethereum blockchain)
- Digital Wallets (PayPal, WebMoney, Boleto, iDEAL, MercadoPago, and others)

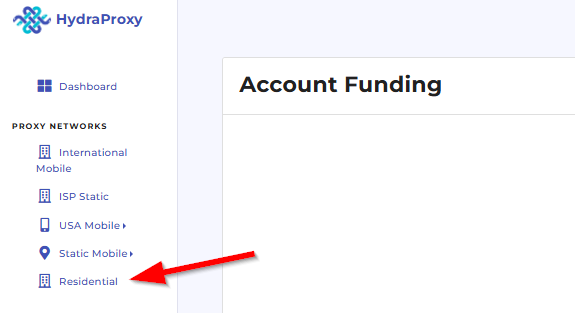
Step 2: Placing the Order
- First you need to click on the Residential button:
- Here you only need to fill 2 boxes
- The usage field should be filled with a couple of words on how you plan on using your proxy order (eg: scraping, social media, smm, account login, research, etc). It is a text of two-to-three words that will help you identify your proxy order (you can consider it your order’s name).
- The Bandwidth need to be field with the number of GB you want to purchase eg. : 1 – for purchasing 1 gb
- After filling these boxes just clck on the Order button and wait for a few seconds for the order to be placed
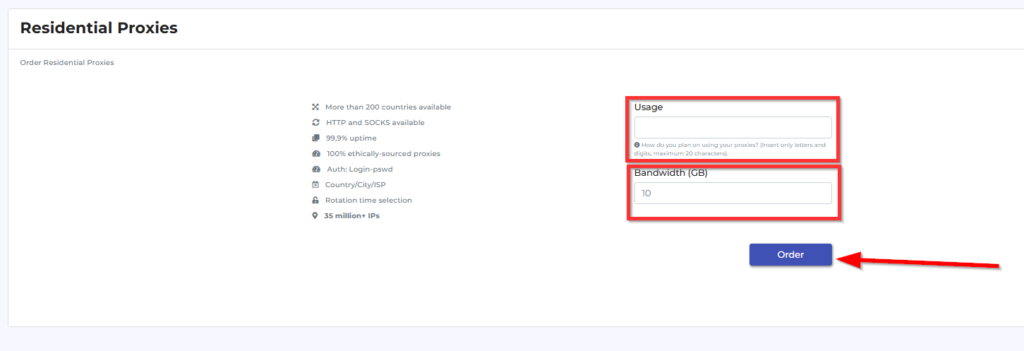
- If the order was placed successfull you will be redirected to the manage access page of the order you just placed
You can always find your order in your main page of your dasahboard under the Residential proxies card

Step 3: Setting up and generating proxies
- If not redirected automatically click on the Manage Access button next to your resiential order

- In the first card you can find info related to the bandwidth consumption and the following to options:
- Add bandwidth – you can add bandwidth to the current order
- Alerts & autobilling – here you can set alarms so you get notified by email if the available bandwidth drops under a certain level and also set up adding automatically x ammount of bandwidth

- Second card is the most important in this whole section. here you set all the proxy setails such as location (country/region/city/isp), proxy format and protoco and rotation setup
- First you need to name your list (we recommend this so you can easily identify the list that you are creating with certain options)
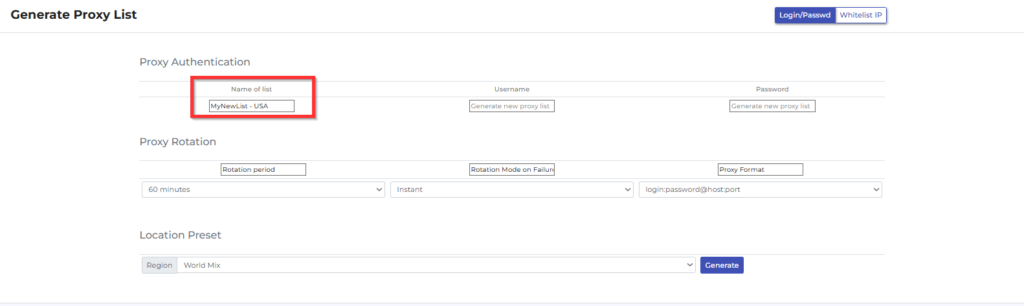
- Then you need to select Rotation period. You can either choose specific periods (5,10, 15, 20, 30, 40, 50, 60 min), for each request (your IP will rotate on each request of your tool or browser – such as page refresh) or Sticky (the ip wll last between 1 and 24 hours – this period is random and depends on ip availability)

- Next you can setup the proxy ip rotation when it does not have connectivity. We recommend you use Instant so you do not have any downtime

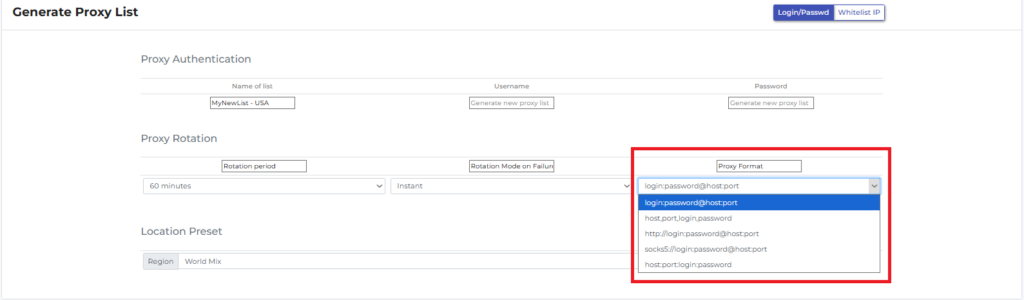
- For the next step you have the option to select a specific proxy format for your proxy list as well as using HTTP or SOCKS protocol
- The following are some of the most important proxy settings : Location and ISP
- In the region setting you can either select one of the standard world regions, leave random location by selecting World Mix or selecting specific country by clicking on Custom
- If you selected to use a specific country by clicking on the Custom option, you will further have the option to select specific country, city and ISP (the lists will appear below after you clicked on Custom)
Here you have the options for Custom selection
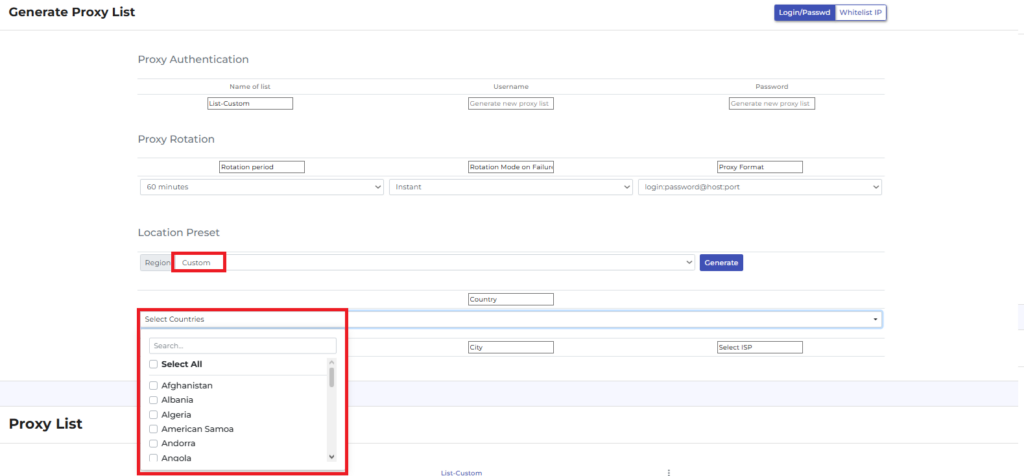
- You can select a specific country which will give you further option to select city and ISP or select multiple locations – this means you cannot choose city or ISP
- Will use for this example USA . After selecting United States, the optrion to select the US state will appearbelow

- After choosing the state – will use California for this example the options to select the city will appear next

- Next the final option – choosing the ISP from the list.
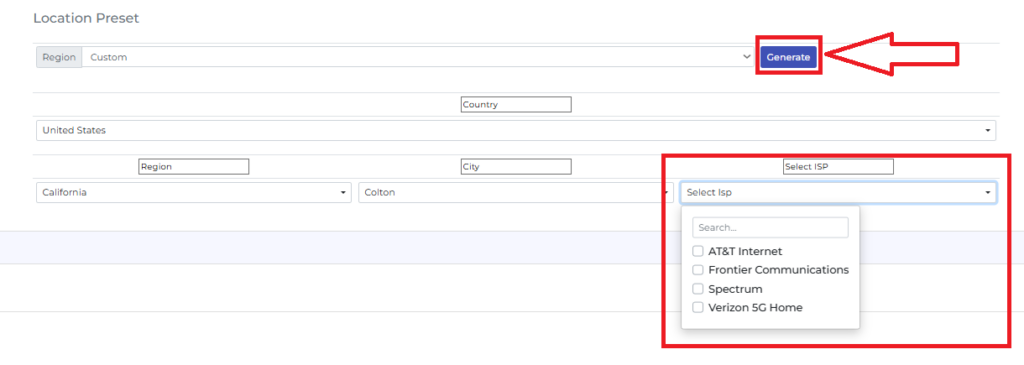
The remaining step is to click on the Generate Button
Please note that the more granular you go by choosing Country -> city -> ISP, the IP pool number drops and you might get limited number of unique IPs
You will receive the following prompt
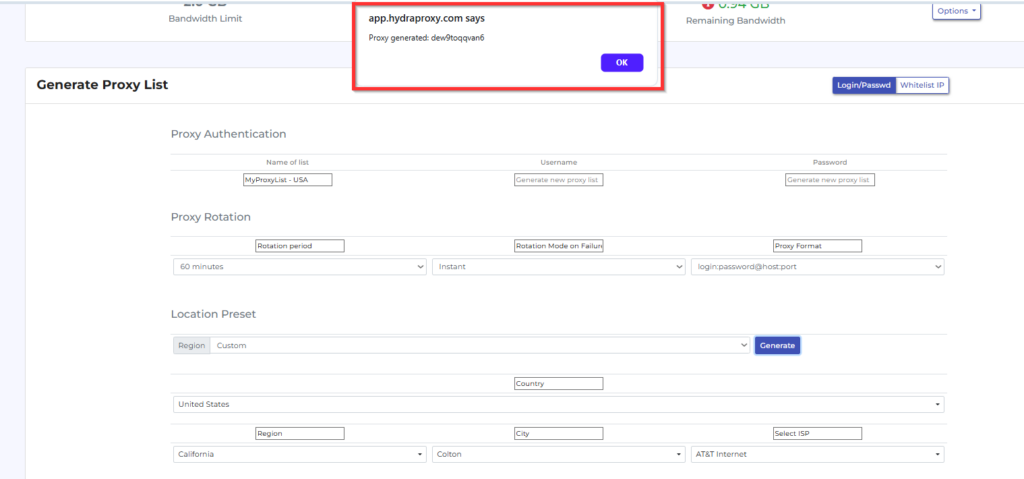
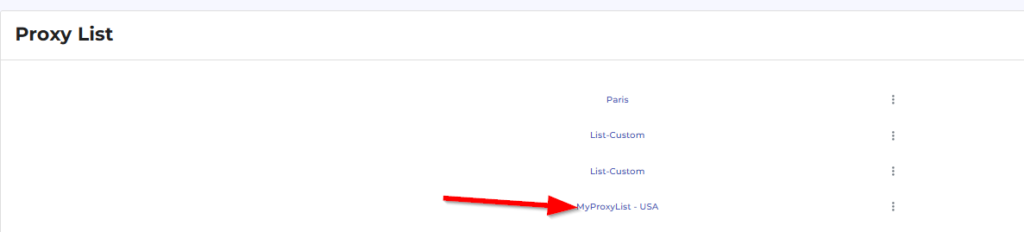
Click Ok, then scroll down to Proxy List section and you will find your newly generated list. You can create unlimited lists as long as you have bandwidth, this is why we recommend you rename all your lists accordingly. In order to access you list you need to click on the name and a new tab will open with 1000 access points (you do not need to use all of them, this is just the standard form of the list) -> each providing different IPs and each respecting the options you selected in the above setps.
As you can see all access point are identical excepting the prot number (which is form 10000 to 10999) -> this will give you a different proxy ip.

You can always generate new lists and delete this lists (by clicking on the 3 dots next to your list and then Delete -> OK on the prompted message and then waiting a few seconds)