Developed from Google’s Chromium project, the Chrome browser is one of the most adaptable browsers working on all major platforms including Mac OS, Windows, Android, Linux, and Google’s own Chrome OS.
Using System Proxy Settings (Windows/Mac)
Chrome uses the system’s proxy settings by default. You can configure these settings to set up a proxy for Chrome.
Setting up a proxy in Windows:
- Open the Start menu and go to Settings.
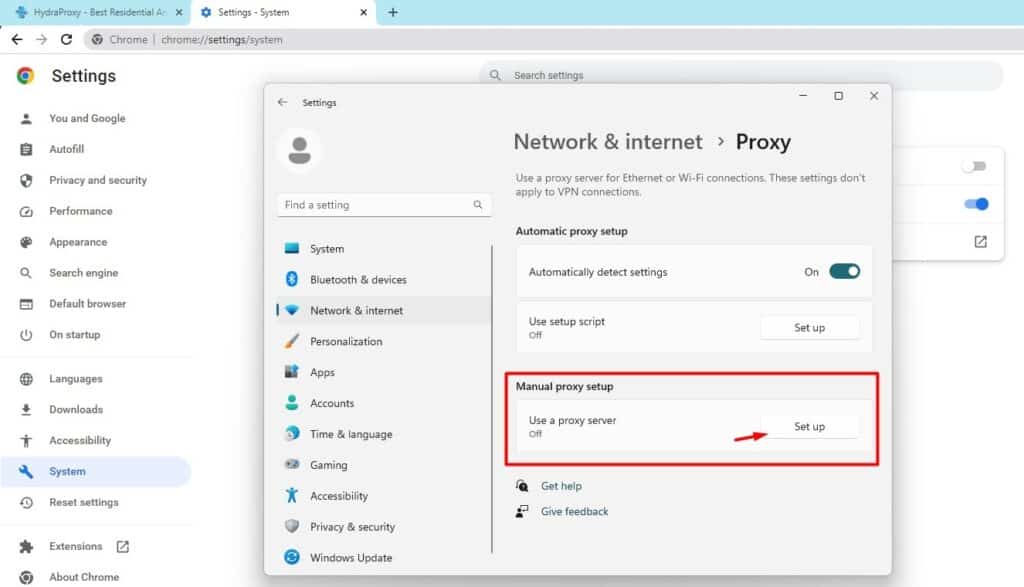
- Click on Network & Internet.
- In the left sidebar, select Proxy.
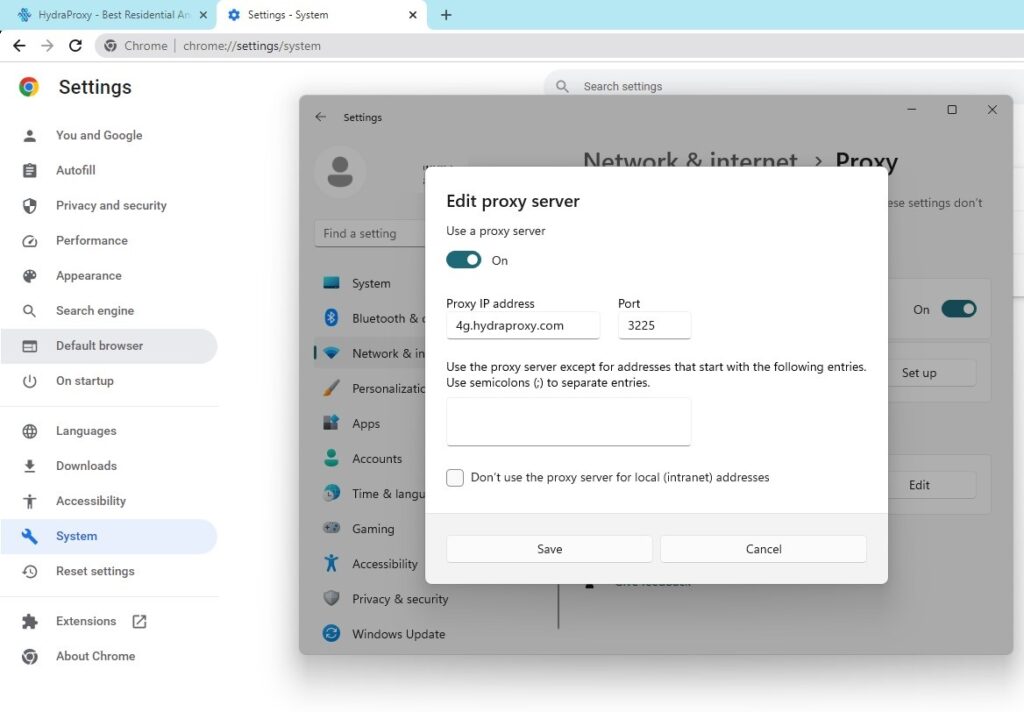
- Under Manual proxy setup, toggle the switch for Use a proxy server to On.
- Enter the IP address and port number of the proxy server.
- Click Save.
Setting up a proxy in Mac:
- Open System Preferences.
- Go to Network.
- Select your network connection (Wi-Fi or Ethernet) and click Advanced.
- Navigate to the Proxies tab.
- Check the protocol you want to configure (e.g., Web Proxy (HTTP), Secure Web Proxy (HTTPS)).
- Enter the proxy server address and port number.
- Click OK and then Apply
Google Chrome Browser Proxy Settings
1. Open Google Chrome
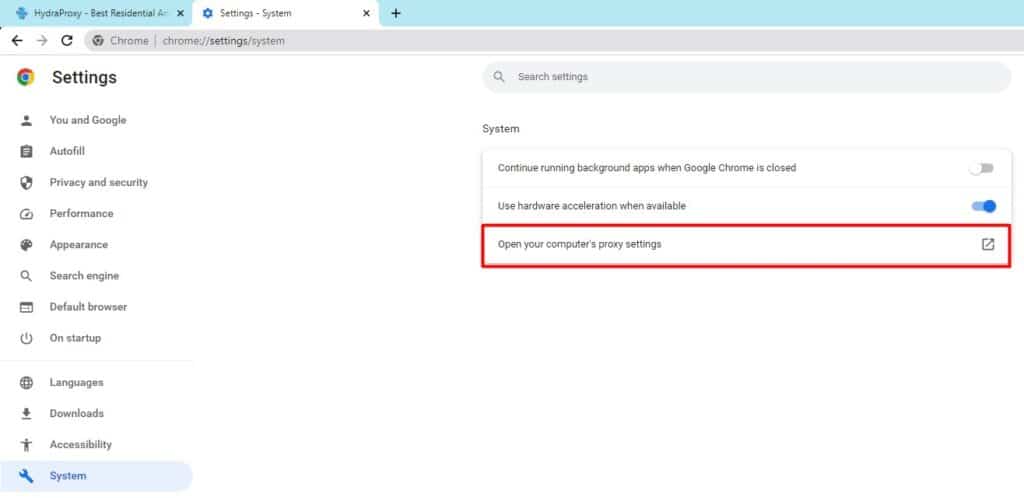
2. Click on the three dots on the top right-hand corner of your browser window -> Settings -> Advanced -> Open your computer proxy settings or just type chrome://settings/ in the address bar thens scroll to Advanced -> Open
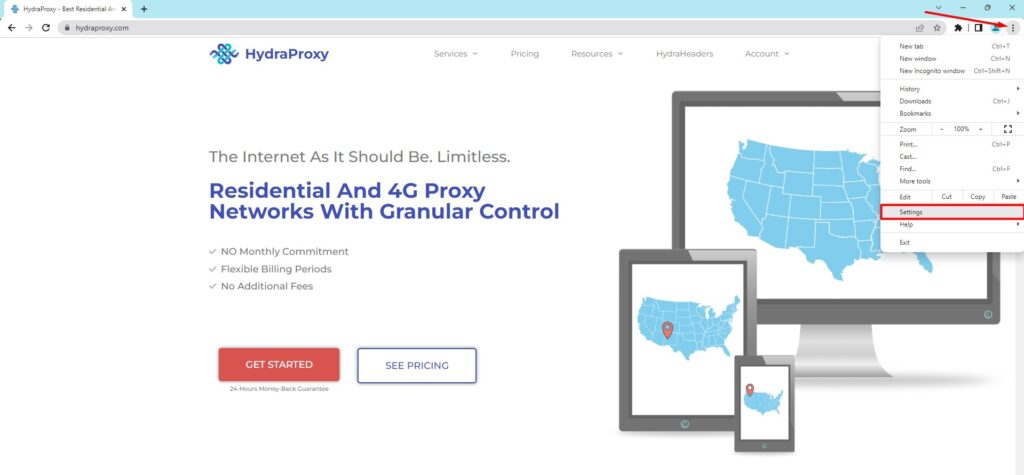
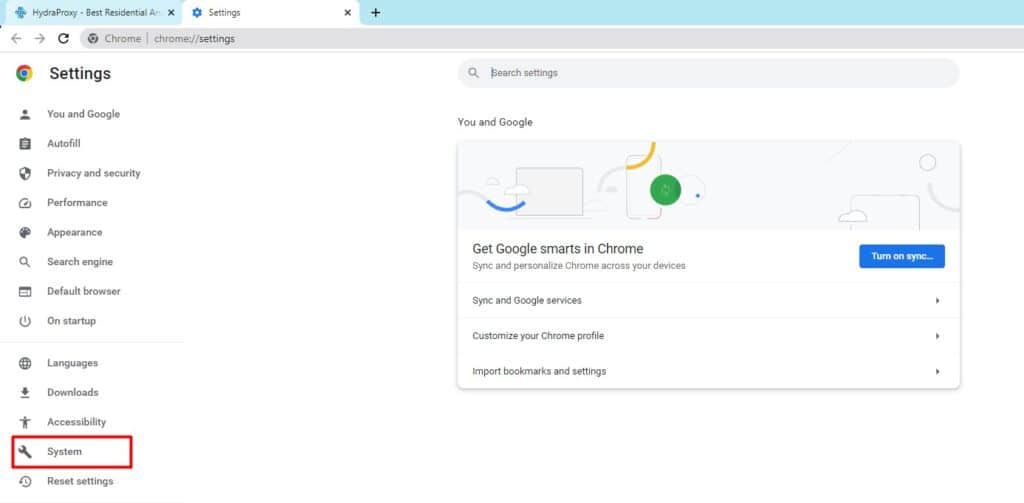
3. Chrome doesn’t have in-app proxy server settings, you’ll be redirected to your operating system’s native proxy settings. This proxy will we used by the whole system, not just the browser.
4. Edit the URL in the address section (enter the IP or hostname of the proxy)
5. Add/change the port number of your proxy
You can disable the proxy server in the same way simply by unchecking the box next to “Use a proxy server”.
Using a Proxy Extension
There are many Chrome extensions available that make it easy to switch between proxies. Here’s how to install one:
- Go to the Chrome Web Store.
- Search for a proxy extension, such as Proxy SwitchyOmega or FoxyProxy.
- Click Add to Chrome and then Add extension.
- Once installed, configure the extension with your proxy details.
Using Command Line (for Advanced Users)
You can also launch Chrome with a specific proxy setting using command line arguments:
- Close all instances of Chrome.
- Open the Command Prompt (Windows) or Terminal (Mac/Linux).
- Run the following command, replacing
proxy-server=ADDRESS:PORTwith your proxy details:
Windows:
"C:\Program Files (x86)\Google\Chrome\Application\chrome.exe" --proxy-server="http://ADDRESS:PORT" Mac/Linux:
open -a "Google Chrome" --args --proxy-server="http://ADDRESS:PORT"Proxy authentication using login and password
If you are using a username and password proxy authorization such as our rotating residential proxies, the window with the login and password will be immediately prompted as soon as you try to access any website on the Internet.
In case you find this setup a little bit tricky you can only install a chrome extension or use a different software.
The easiest way to use our proxies is with the FoxyProxy extension . You can check out a short tutorial about this here: https://hydraproxy.com/how-to-use-foxyproxy/
Also, if you want to emulate other browsers and better mask your connection, you can use HydraHeaders: https://hydraproxy.com/how-to-use-hydraheaders/