If you are a new user of ubuntu and in your organization a proxy server for internet access. you need to set proxy in your ubuntu operating system use the following steps.
There are various ways of configuring Proxy settings on Ubuntu operating systems. The graphical interface can be used, or all settings are done on the command line. In this guide, we will consider both methods.
Set System Proxy on GUI
1. Go to “Show Applications” and type in “Settings”.
2. Click the “Settings” icon.
3. Click the Network tab.
3. Click the “Network Proxy” tab.
4. In the appropriate text fields, enter your proxy server’s hostname or IP address. Ensure you change the port number to match your proxy server’s, too.
Set System Proxy settings using CLI
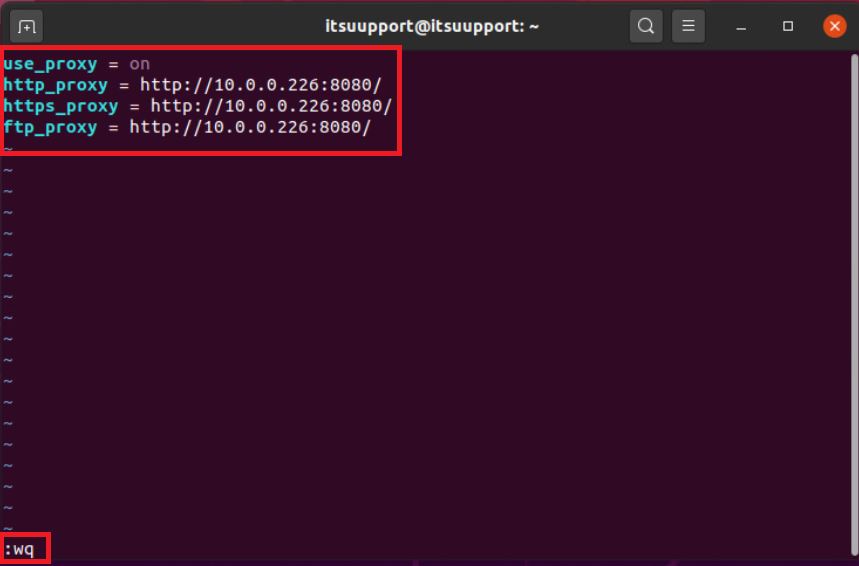
This will ensure the settings apply to all logged-in users. For the system proxy settings use command
sudo nano /etc/profile.d/proxy.sh
Set the value and save the file using ctrl +x and press y.
Add other IPs if you want to exclude from proxy to NO_PROXY & no_proxy environment variable.
execute following command.
Type command sudo chmod +x /etc/profile.d/proxy.sh and press enter.
Type command source /etc/profile.d/proxy.sh and press enter.
Type command env | grep -i proxy and press enter.
Set proxy for APT package manager
The above mention settings will work for Applications and command-line tools. If you want to set proxy only for the APT package manager. use the following steps.
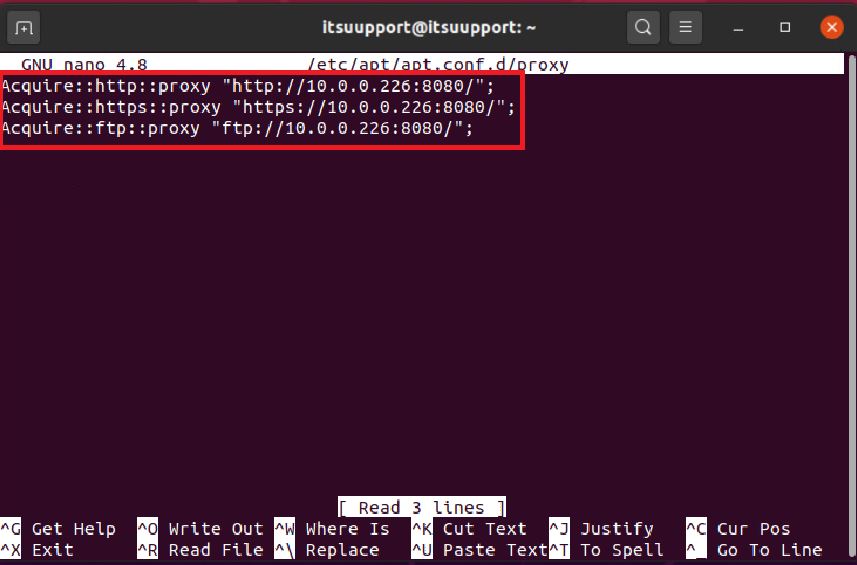
Type command sudo nano /etc/apt/apt.conf.d/proxy and press enter.
Set the value and save the file using ctrl +x and press y.
Acquire::http::proxy “http://10.0.0.226:8080/”;
Acquire::https::proxy “https://10.0.0.226:8080/”;
Acquire::ftp::proxy “ftp://10.0.0.226:8080/”;
Replace 10.0.0.226 with your proxy server IP address. If Authentication is required, use the following steps and type username and password.