Learn how to setup your BitBrowser proxy settings and integrate with Hydraproxy IPs
Bit Browser is a multifunctional web browser that enables you to browse internet, news feed and make it use to use multiple platforms at a single place. It is free , fast and secure. It gives you a great browsing experience. It’s easy to use, and compatible with various devices.
How to integrate BitBrowser with Hydraproxy
- Download and install BitBrowser: https://www.bitbrowser.net/download/
- Open BitBrowser and create an account or log in.
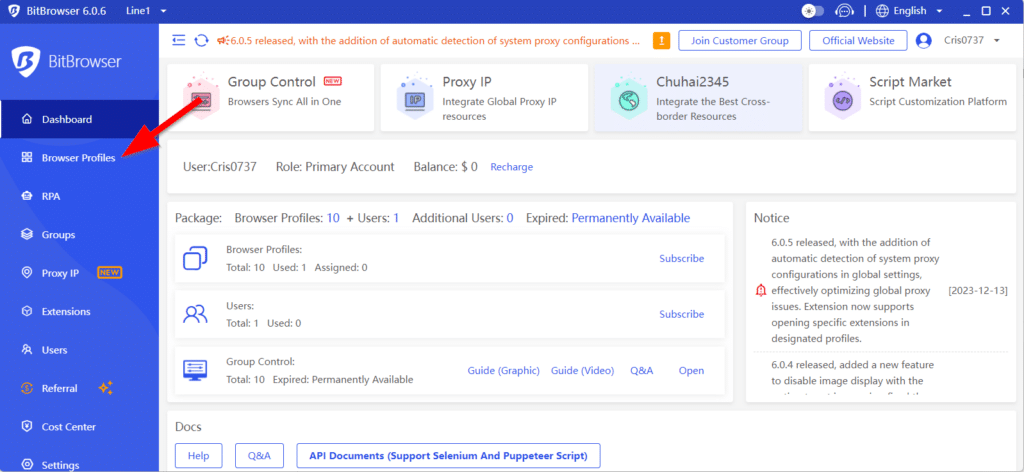
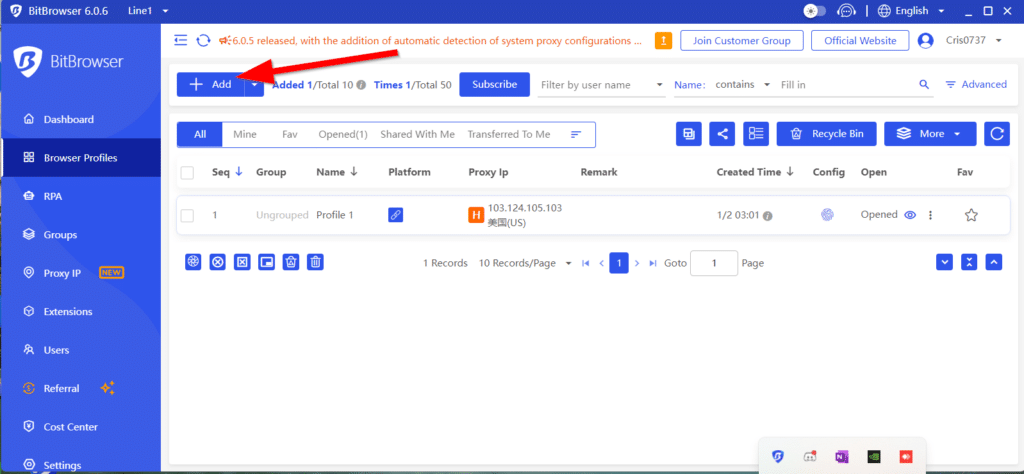
- Go to Browser Profiles tab then click on the “Add+” button
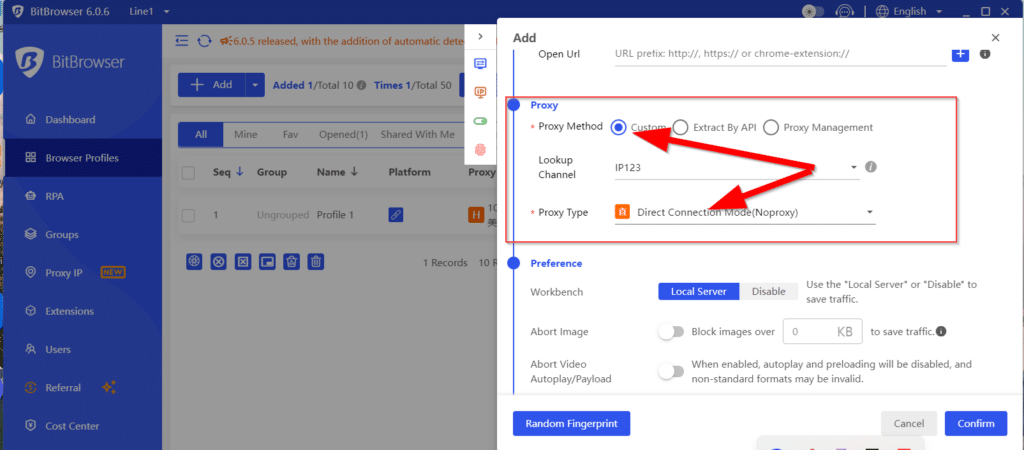
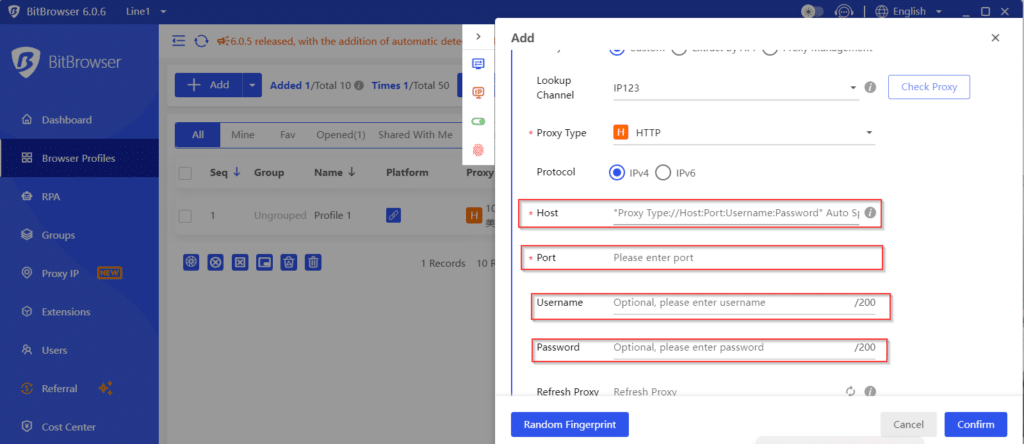
4. Here you need to conlfigure the profile. To set the proxy up you need to go to scroll down to the Proxy session, select “Custom” then click on “Proxy Type” dropdown
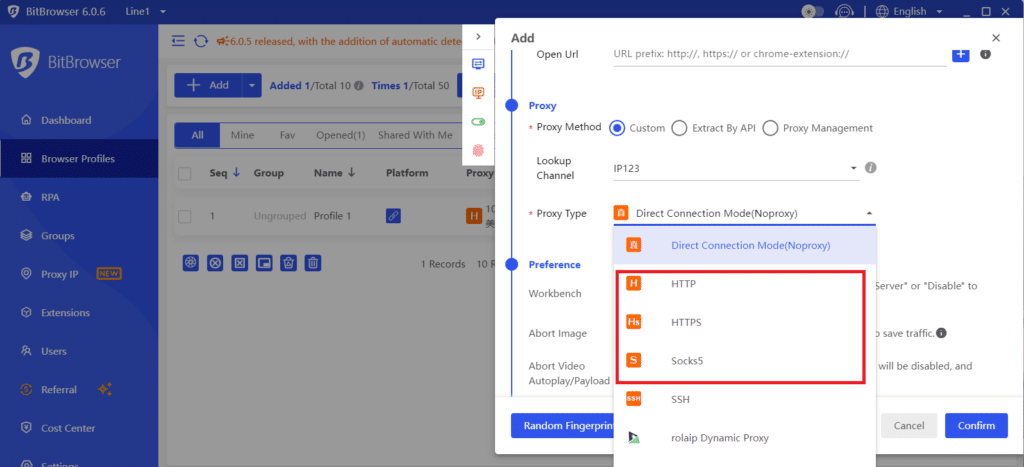
6. Here you need to select the proxy type: HTTP, HTTPS or SOCKS5
7. Now you need to enter the proxy details. The format of our residential proxies is: username:password@isp2.hydraproxy.com:9989 . Instead of the hostname isp2.hydraproxy.com you can also use the numeric form of the server by accessing your dashboard->manage access->server IP
Our mobile proxies do not require username and password authentication, so when using our mobile proxies you can remove the username:password@ part from the URL. For mobile proxy auth we use a whitelisted IP (your IP) as an authentication method. This access IP can be changed every 30min from your HydraProxy dashboard by clicking the manage access button next to the proxy and then add the new whitelisted IP in the Port Management section.
If you need help placing an order please click here: https://hydraproxy.com/how-to-order/
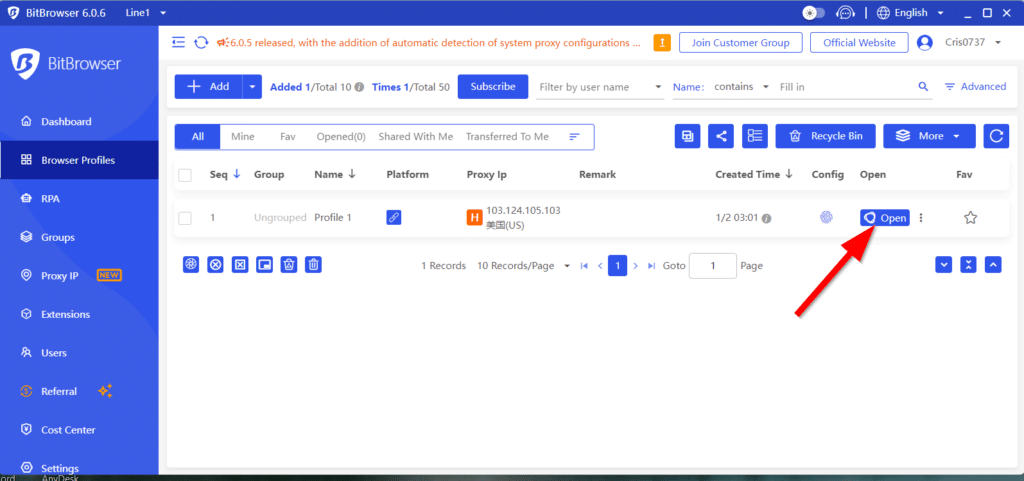
8. In order for the changes to apply you need to scrol down and click “Confirm button” then launch the newly created profile by clicking on “Open”

If you still have any questions you can also check the video tutorial below